

At a glance
- Make a key just for Moirova, so you can remove it without touching anything else.
- Use a part of your domain kept for this, such as mail.yourcompany.com.
- Sending services suit quotes, invoices and campaigns. Mailbox services suit a small workspace and never bulk email.
- Step 1 checks the key and sends you a test email before anything is saved.
Before you start
- Who does it
- A workspace admin, with a sign-in at the email service.
- Where it goes
- Admin, then Email settings, step 1: Email service.
- Good to know
- The key or password is kept in Google Secret Manager, never in the database.
Get ready in four steps
- Open an account. Sign up at the service, or use the account you already have. Check its plan allows the number of emails you send.
- Add your domain there. Use a part of your domain kept for the CRM, such as mail.yourcompany.com. For Resend, Brevo and Mailgun, Moirova can add it for you in step 2.
- Make a key for Moirova. An API key or SMTP sign-in made only for Moirova, as each service below describes.
- Connect it. In Email settings, step 1, choose the service, enter the key and choose Check and connect.
Choose a service
| Service | Kind | Connect with | Campaigns |
|---|---|---|---|
| Resend | Sending service | API key | Yes |
| Brevo | Sending service | API key or SMTP | Yes |
| Postmark | Sending service | API key or SMTP | Yes |
| SendGrid (Twilio) | Sending service | API key or SMTP | Yes |
| Mailgun | Sending service | API key or SMTP | Yes |
| Amazon SES | Sending service | SMTP | Yes |
| Zoho Mail | Mailbox | SMTP | No - not for bulk email |
| Google Workspace / Gmail | Mailbox | SMTP | No - not for bulk email |
| Other email server (SMTP) | Mailbox | SMTP | No - not for bulk email |
Microsoft 365 and Outlook are not offered for the workspace: Microsoft connects by a person's own sign-in, so each person connects their Microsoft mailbox in My Email.
Resend
- Connect with: API key.
- An API key from Resend -> API Keys, from the Resend account that holds this domain. Sending access for this domain is enough; Full access also lets the CRM check the domain is verified before saving.
- Moirova adds your domain at Resend and shows the records it asks for, in step 2.
- Bounces and complaints come in through Resend's webhook, set up in step 4.
- Sending limits - Set by your Resend plan. The free plan sends up to 100 emails a day and 3,000 a month, then pauses.
Brevo
- Connect with: API key or SMTP.
- An API key, or the SMTP login and SMTP key, from Brevo -> SMTP & API.
- Moirova adds your domain at Brevo and shows the records it asks for, in step 2.
- Paste your report address into Brevo - see the bounce and complaint guide.
- Sending limits - Set by your Brevo plan.
Postmark
- Connect with: API key or SMTP.
- The Server API token from Postmark -> your server -> API Tokens (not the Account token). For SMTP the token is both the user name and the password.
- Add and verify your domain at Postmark first; step 2 then checks its records in DNS.
- Paste your report address into Postmark - see the bounce and complaint guide.
- Sending limits - Set by your Postmark plan. Marketing email goes through a broadcast stream.
SendGrid (Twilio)
- Connect with: API key or SMTP.
- An API key from SendGrid -> Settings -> API Keys with Mail Send access. For SMTP the user name is "apikey" and the key is the password.
- Choose the region your account is in: Global (api.sendgrid.com), European Union data residency (api.eu.sendgrid.com).
- Add and verify your domain at SendGrid (Twilio) first; step 2 then checks its records in DNS.
- Paste your report address into SendGrid (Twilio) - see the bounce and complaint guide.
- Sending limits - Set by your SendGrid plan.
Mailgun
- Connect with: API key or SMTP.
- A sending or private API key from Mailgun -> Settings -> API Keys, for the region your domain is in.
- Choose the region your account is in: United States (api.mailgun.net), European Union (api.eu.mailgun.net).
- Moirova adds your domain at Mailgun and shows the records it asks for, in step 2.
- Paste your report address into Mailgun - see the bounce and complaint guide.
- Sending limits - Set by your Mailgun plan.
Amazon SES
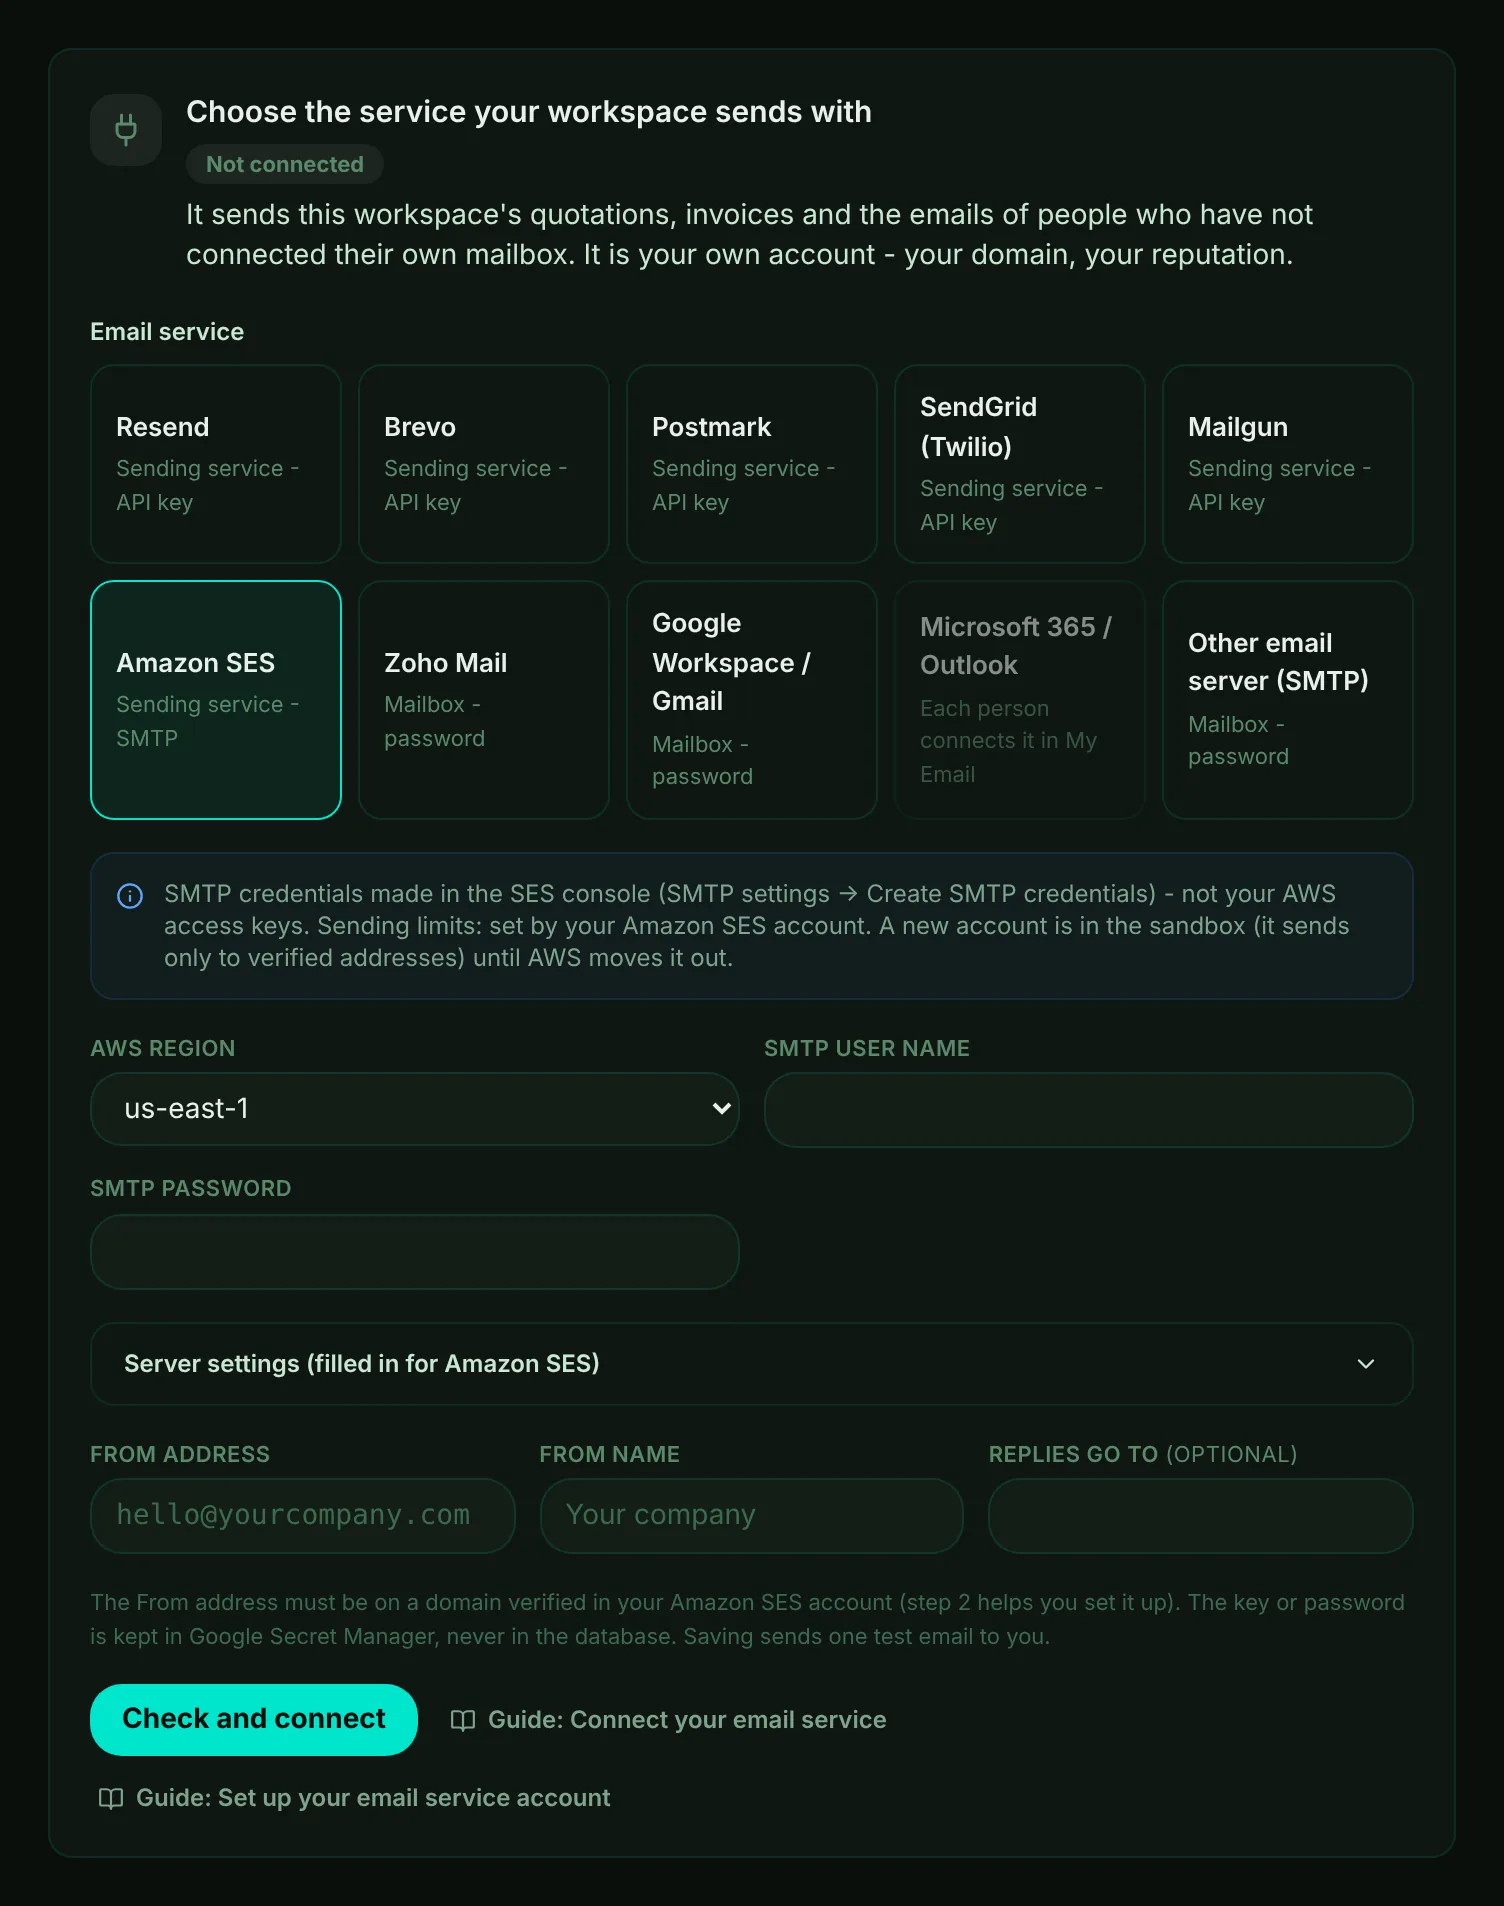
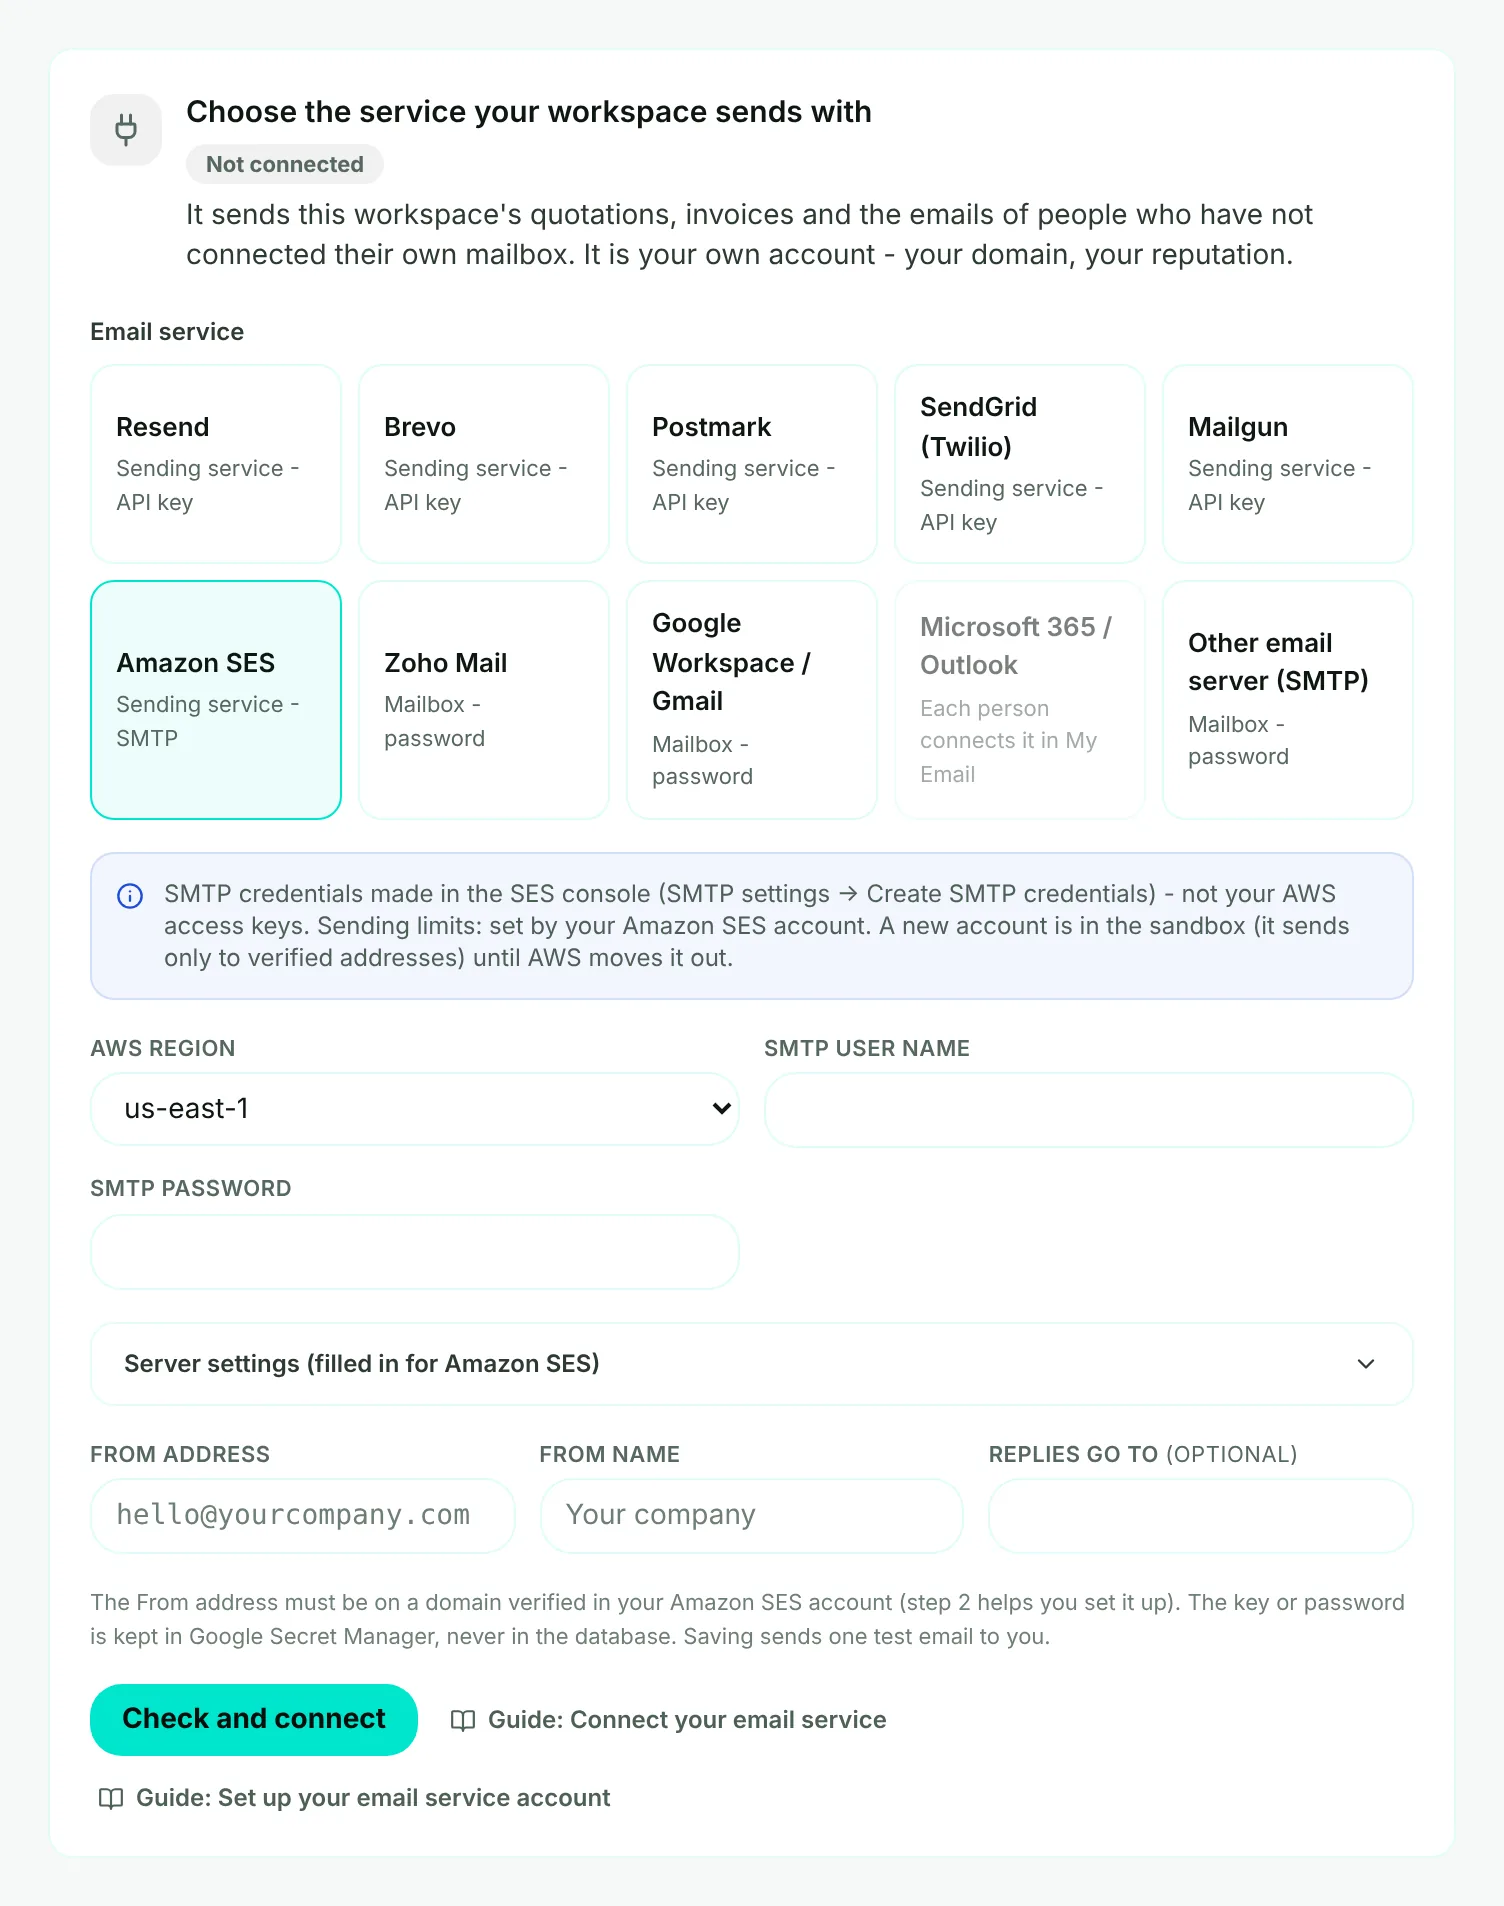
- Mark 1: Amazon SES connects with SMTP credentials.
- Mark 2: The AWS region your SES account sends from.
- Mark 3: The SMTP user name from the SES console - not your AWS access key.
- Mark 4: The SMTP password that comes with it.
- Mark 5: Check and connect - Moirova signs in and sends you a test email.
- Connect with: SMTP.
- SMTP credentials made in the SES console (SMTP settings -> Create SMTP credentials) - not your AWS access keys.
- Choose the AWS region your account is in: us-east-1, us-east-2, us-west-1, us-west-2 and others.
- Add and verify your domain at Amazon SES first; step 2 then checks its records in DNS.
- Bounces and complaints come in through Amazon SNS: subscribe your report address to a topic and point SES at it - see the bounce and complaint guide.
- Sending limits - Set by your Amazon SES account. A new account is in the sandbox (it sends only to verified addresses) until AWS moves it out.
Zoho Mail
- Connect with: SMTP.
- A paid Zoho Mail plan (Mail Lite or higher). The free plan has no IMAP or SMTP access.
- With 2-step sign-in on, use an app-specific password from your Zoho account security settings. Copy the server names exactly as Zoho Mail -> Settings -> Mail Accounts shows them.
- Choose the region your account is in: United States and most countries (zoho.com), Europe (zoho.eu), India (zoho.in), Australia (zoho.com.au) and others.
- Add and verify your domain at Zoho Mail first; step 2 then checks its records in DNS.
- Sending limits - Zoho sends about 50 to 500 emails an hour to outside addresses, depending on your sender reputation. Zoho does not allow bulk or marketing email from a mailbox.
Google Workspace / Gmail
- Connect with: SMTP.
- Use an app password from the Google account (it needs 2-step verification on), not the account's own password.
- Add and verify your domain at Google Workspace / Gmail first; step 2 then checks its records in DNS.
- Sending limits - Google sets a daily sending limit for each mailbox, by your Google plan. Not for bulk or marketing email.
Another email server
- Connect with: SMTP - the server name, port, user name and password your email host gives you.
- Use port 587 or 465. Port 25 is blocked by our cloud provider.
- Step 2 asks for your DKIM selector: the first part of the DKIM record your email host gives you, before _domainkey.
- Sending limits - Set by your email host.